Thursday 31 October 2013

DIY Button Bonanza!

Like any craft maniac, I have a huuuuge tin of buttons. All kinds of buttons, I'm not fussy in my button hoarding. So, I'm always looking for new ways in which I can use my buttons. Here are a few quick ideas for upcycling your buttons -  just because some buttons are too fabulous to remain as buttons!


1. Button Rings


Pretty buttons + glue + ring finding = A cocktail ring with a difference. You can choose a button which is obviously a button, or more discreet buttons for a different effect.
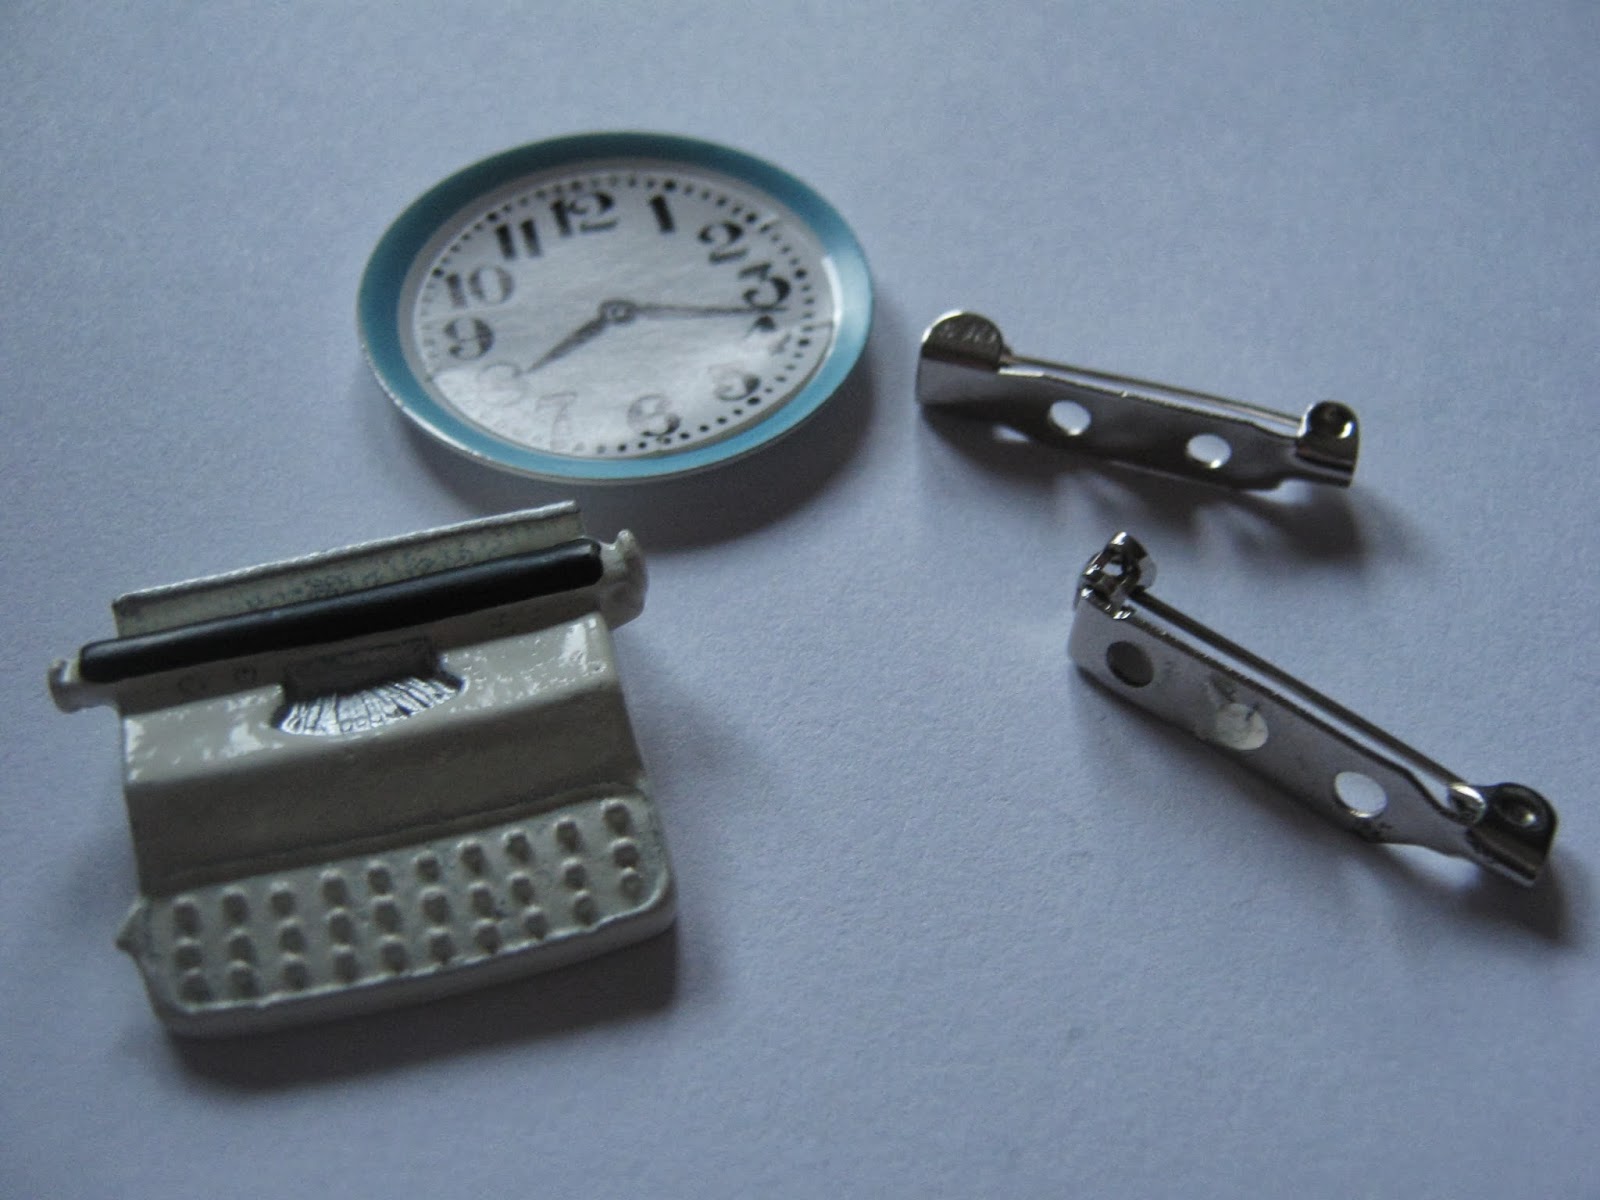
2. Button Brooch


If you have any super sized buttons, they look amazing as brooches. Simply glue a brooch back to the reverse of your button. You'd be surprised how many ways you can wear this - jumpers, coats, dresses - even on a scarf!

3. Button Earrings


If you've got a pair of identical earrings, it's a great opportunity to make a pair of button earrings! Just glue some earring posts onto the reverse side of your buttons. Novelty earrings are great for this - these ones combine two of my favourite things - bears and cardigans!
 
4. Button Hair Clips
 
 
Accessorize have absolutely adorable hair clips throughout the year, but you can make your own just as easily by gluing interesting buttons onto the end of bobby pins. Look out for vintage glass buttons to do this with - they look so elegant and are perfect for wedding hair.
 
Any other ideas on how to upcycle buttons? I'd love to hear them!


Tuesday 29 October 2013

How to: Dolls House Furniture Jewellery

I love teeny - tiny stuff. It makes me go squee inside! So whenever I come across some dolls house furniture I'm always thinking how I can use it. Although sometimes I just buy dolls house furniture and put it on my shelf to lift my day!


This teeny tiny typewriter and clock were mere pennies from a local garden centre. I saw them and they screamed "BROOCHES" at me. This is a bit of a no-brainer: it just involves cute objects, brooch backs and glue. But hey, easy cute projects are the BEST, right?


Simply glue the brooch back onto the reverse of your dolls house accessory. I find this works best if you place the brooch near the top of the item (and your item is flat-backed, of course).


Ta Da! Simples, as a certain annoying meerkat would say. Any other ideas on what to do with dolls house furniture? Besides using it as it was intended, of course!

Monday 28 October 2013

Vintage Sheet Music as Decoration

When I came across these gorgeous music sheets a few days ago, I knew they were destined to come home with me.


I loved the effortlessly romantic feel they have, and just knew that they would look perfect framed and on a wall. Looking at them makes me yearn to start practising playing the piano again (I will learn to play Lippy Kids by Elbow, I swear it).


I'm just waiting to come across the perfect frames for these beauties, and then they are going to grace my walls.

Any other ideas on what to do with these? Have you come across any lovely things to frame recently?

Saturday 26 October 2013

Free Recipe: Strawberry and Cream Sponge

This is a cake I made for my Mum's birthday yesterday. As with most of my recipes, it didn't really end up how I originally envisaged it. I was planning on making some homemade strawberry jam for the filling, and although I followed the recipe, it never set. It's still very runny two days later. Instead, I've used it as a kind of topping, but if you've got AMAZING jam skills, feel free to make your own jam for the filling.


Ingredients:
  • 300g butter/margarine
  • 300g caster sugar
  • 300g Self Raising Flour
  • 2 eggs
  • Vanilla Essence
  • Milk
For the topping and filling:
  • 100g strawberries
  • 200g caster sugar
  • 150g Strawberry jam (homemade or shop bought, whatever floats your boat)
  • 75g butter/margarine
  • 180g Icing sugar

Preheat your oven to 190 degrees Celsius.

First, cream the butter and sugar together, before gradually sifting in the self-raising flour. Beat in the two eggs and add a tablespoon of vanilla essence. If your mixture is too thick, you may need to add a drop of milk in order to create a batter-like consistency. Half the mixture between two 8" cake tins (grease them first or regret it later!) Bake in the oven for 30-35mins.

When cool, sandwich the two halves together with your jam. Beat your butter with your icing sugar until quite stiff and spread the buttercream over the top of your cake.

When it comes to decoration, you can let your imagination run wild. I was going for a Great British Bake Off feel, although I'm sure winner Francis wouldn't be too impressed :)

I thinly sliced 3 of my strawberries and placed them on top of the buttercream. Mash your remaining strawberries in a bowl until they are quite liquidy, and then sift in the sugar, making sure it is dissolved. Drizzle this over the top of your cake (you could even put this "sauce" in a jug to pour over individual slices).

Now comes the eating part. Enjoy! Happy Birthday Mum!


Friday 25 October 2013

Why Not Try to DIY?

Hi there! Today I thought I'd share some quick crafty inspiration, from photos that I took on my travels. I'll apologise in advance for the fact that these probably aren't the best quality photos in the world, but they were taken on my iPod (why is it I never have a camera to hand when I see something truly AMAZE?).

Optical Illusion Painted Caravan

If I ever had a caravan, I would paint it like this. It looks like a cottage! Also, that sunflower requires absolutely zero nurturing - now that's my kind of plant.

Tape measure shoes

It might not be clear, but the bow on the front of these shoes is made from a tape measure. This would be easy to do, and would look especially good with a brightly coloured measure.

Furry shoes

Furry shoes
 
Yes, these really are furry shoes (from Marks and Spencer). I'm not even sure that I'd want to DIY these, but I'm kind of mesmerised by them. A bit creepy? Yes. And they look and feel just like my cat.


These are old board games hung on the wall like paintings. You would have to glue the pieces in place (and hang them straight - I can't stand wonky angles!). I've actually this somewhere before - in Sherlock, there is a Cluedo board hanging from the walls of 221b Baker St. Yes, I spotted that but I still can't work out how he killed himself!


This cardigan might be the most perfect thing I've ever seen. It's multi-coloured, spotty, stripy and it has CUPCAKE POCKETS! *Sigh*. OK, I've calmed down now.
 
What amazing DIY-worthy things have you seen recently? Have you ever tried anything similar to any of these?


Thursday 24 October 2013

How to: Origami Crane Earrings

Origami jewellery has been something I've been meaning to try for a while, and finally thought I'd try it today. I settled on making some crane earrings - these are made of paper, and probably won't last forever, but they were super easy to make, and if they do break, it's just an excuse to make some new ones!


You Will Need:
  • Paper of your choice
  • Clear Nail Varnish
  • 2 Jump Rings
  • 2 Dangly Earring Posts
  • Pliers

First up, make your origami cranes. I could post a tutorial here, but I'm not going to pretend that I'm an expert, so I'll let you use a tutorial of your choice. I particularly like this origami crane tutorial. The squares of paper I used were 7cm square, but you might want to practise on a larger scale first.


Give your cranes a coating of clear nail varnish. This will help to protect them a little.


Pierce a hole in the body of your crane, and using a jump ring, attach your earring post to your crane.


You're finished! You don't have to stick to just cranes either, I'm thinking mini dodecahedrons would be AMAZE (if infuriatingly fiddly). Let me know if you try anything similar!

Tuesday 22 October 2013

Coptic Stitch Name Book Binding

This is an idea I've had for a while, but only recently got round to figuring out how to do it!

Coptic Stitch Name Spine
 
I made this for my lovely friend Amy's Birthday. It's a notebook made from a vintage astronomy book, with Coptic binding arranged to form a name down the spine.


Coptic Stitch Name Spine


If you're familiar with Coptic stitch, then you've probably already got a decent idea of how I did this. I made holes in my signatures which, when binded together, created letters. I changed thread throughout, to create a slightly ombre effect.
 
All wrapped up and ready to go!

I'll eventually get round to writing a full tutorial for this - I'm rather pleased with how well it turned out! Until then, if you'd like to try this and have any questions (or tips!) just leave me a comment below, and I'll try my best to answer.

Monday 21 October 2013

How to: Vintage Dice Necklace

I love board games. Particularly old ones that are rather sweet in the way that they lack complete relevance to modern day entertainment. I came across a vintage game that involved using dice for adding up (maths? noooooooo!), but I honestly didn't really understand the instructions. Instead I was thinking "Ooh! Lovely wooden dice! Necklaces, bracelets, earrings..." So, here's how I turned one dice into a necklace charm (no maths involved, promise!):

You Will Need:

Dice Necklace Instructions

  • Wooden Dice (look out for ones with novelty pictures instead of dots)
  • Jump screw
  • Necklace
  • Pliers
  • Jump ring
Depending on how you want your dice to hang, think about where to insert your jump screw. I chose a corner. Screw your jump screw in using your pliers (use a small drill to start you off if necessary).


Attach to your necklace using a jump ring, and wear it on day when you feel you might need a little luck.


I've made a playlist for this project too. I've been thinking about doing this for some projects for a while, and now I've finally got round to it. Ta da!

Any other ideas on how to use wooden dice? I'd love to hear them!

Friday 18 October 2013

How to: Make Halloween Insect Earrings

Halloween. It seems EVERYBODY'S talking about it at the moment, and although I love a holiday, I have to admit Halloween is probably my least favourite. At the moment, I'm actually more excited because all the Christmas stuff is starting to appear in the shops (squeeeeee!). I'm going to try and stop being so 'bah-humbug' (can I use that phrase for Halloween?) about the whole thing and try to embrace it. So, how about some DIY Halloween Fly Earrings?


You Will Need:
  • Some joke plastic flies
  • Pliers
  • 2 Jump screws
  • 2 Jump Rings
  • 2 Earring Fastenings


First, using the pliers, screw the jump screw into the top of your plastic fly's head (ouch!). Mine was made from quite a soft plastic, so I didn't need to use a drill.


Using a jump ring and pliers, attach your fly to your earring fastening.


Repeat for the second earring, and you're done! How easy was that?

I also found a packet of joke spiders in the same shop, so using the same technique I attached them to a chain to make a bracelet.


I'm actually a little scared of spiders, so I guess I might skip wearing this too often!

Are you ready for Halloween yet?

Thursday 17 October 2013

Recipe: Lemon Drizzle Cupcakes

There's a saying, "When life gives you lemons make lemonade." Well, why not update this saying and make some yummy lemon cupcakes instead? Trust me, they're easy to make and very, very scrummy!


Ingredients: (to make 12 cupcakes)
  • 150g Butter
  • 150g Granulated Sugar
  • 150g Self Raising Sugar
  • 2 eggs
  • 1 lemon
  • Icing sugar (for the topping)
Pre-set your oven to 180 degrees Celsius.

Firstly, cream the butter and sugar together before sifting in the flour and adding in the eggs. When the mixture is mixed together, cut your lemon in half and add the juice of one half to your cake mix (watch out for pips!). Grate in the zest of this lemon half too, and make sure the juice and zest is well mixed in. Pour into 12 cupcake cases, and bake in your oven for 20-25 mins, until golden brown.


To make the topping, put 2-3 heaped table spoons of icing sugar into a bowl, and gradually add the juice of the other lemon half, until the mixture is the desired consistency. I like mine to be quite thick and gooey, but you could make a more runny icing if you like.


Using a spoon, drizzle your icing across the top of your cooled cupcakes - the messier the better!


Alternatively, you could make a lemon butter cream icing for these, just mix butter cream according to the instructions on your icing sugar, and add the juice and zest of your other lemon half. Pipe on to the top of your cupcakes in the desired manner.
 
Enjoy! Have you done any baking recently?