Wednesday 28 August 2013

Mid Week Treat: Panda Ruler

I read a newspaper article a few weeks back, about a study that found that Wednesday is most likely to be the lowest point of a person's week.


Source

On Mondays and Tuesdays, your memory is still filled with the weekend, and on Thursday and Friday, your thoughts are concerned with the upcoming weekend, but Wednesday is just middle of the road. With this in mind, I decided to introduce a new feature - the Mid Week Treat! Every Wednesday I'll find an inexpensive buy just to brighten your day.


As a well adjusted and highly serious adult, it's only normal that I have a slight obsession with stationary. This ruler caught my eye as soon as I saw it - I can't resist a cute panda.


Normally I'm a bit of a rebel when it comes to straight lines, but if anything's going to convert me it's an adorable ruler. And at 35p (from Wilko's), it's hardly going to break the bank either. Just what I needed to pick up my day!


I'm also really excited about the pandas in Edinburgh Zoo - is it wrong that I'm more excited about the prospect of a wee Scottish panda cub than I was about the royal baby? I might even have to make a trip up to Scotland to see Tian Tian, Yang Guang and their cub!


Do you find Wednesday the low point of your week? How do you brighten those days?

Tuesday 27 August 2013

How to: Make an Ear Cuff

Ear cuffs have been about a while now, and after sitting on the fence for a long time, I've actually finally decided that I like them.


 I prefer the ear cuffs which are simpler rather than the more fancy, jewel encrusted ones (have no idea when I'd wear something so blingy). I decided to set about making one, as I was ensure exactly how often I would wear one and wanted to avoid paying a fortune.

You Will Need:


  • Pliers
  • Craft Wire (I used fuse wire because I couldn't find any craft wire!)
  • Earring Post
  • Embellishments and broken jewellery
  • Glue


This is a perfect project for using up bits of broken jewellery that are too small or broken to do much else with. The best thing to do is just keep an open mind and lay out different compositions before committing to your design.


1. Cut a length of wire which is double the length of your ear, and using the pliers, roll the end into an coil. This will be where the earring post will be glued later.


2. Curve the wire upwards from this point, following the curve of your ear. Once you are happy with the length and shape of the wire, bend the remaining wire into a short curve, perpendicular to the rest of the wire. Repeat this curve back and forth to make the cuff that will sit at the top of your ear. Cut off any remaining wire.


Wrap your wire back and forth...


This forms the main cuff for your ear!
 
 3. Now that you have made the main base for your ear cuff, you can start to think about how to jazz it up a little. I just laid out my various pieces of jewellery until I had a design I was happy with.
 
This one is made from a broken chain and a broken earring

This design is made from fake jewels

  I decided to go with the top design, but experiment to get the look you want.

4. Using a thinner wire, or even a needle and thread, start to loop around the cuff part of your base, and use this to attach your embellishments. I looped through the chain, and wrapped back around the base, and continued this through each link in the chain.


Continue this until you reach the bottom of your ear cuff.


You could use the same technique for attaching other embellishments, I also experimented with looping the wire through the holes in the jewels and back around the base.

5. Glue on any additional features that cannot be wrapped or sewn on. I did this with my broken earring.


I also glued my earring post on at the same time, to the reverse of the ear cuff.

When the glue has dried - you're done! I'm looking forward to wearing this when the weather goes cooler - I always tend to pile on the jewellery in the Autumn. It would of course, still look great for the last of these summer days.


 Have any of you invested in an ear cuff yet? How would you wear one? Let me know if you try this!

Monday 26 August 2013

Why I Love Yellow

Some colours get all the attention. Black is forever fashionable, navy is smart and preppy and red always looks like you've made an effort. And emerald is Pantone's colour of the year! However, I think there's one colour that deserves more credit...


OK, so it's hardly high-fashion of me, but I just really like yellow. Not to paint walls in or to dye my hair with (a bit Lady Gaga, no?), but to wear, I think yellow is a really underrated colour. It's fun, cheerful and perfect for a Monday. Here's my pick of yellow on the high street:
 
1. Source 2. Source 3. Source 4. Source

1. I love a chunky knit, and this one from Miss Selfridge looks so cosy and happy. Wear it with light denim jeans or over a smock dress. Pieces like this make yellow surprisingly easy to wear.
2. This skirt from Zara is a more pastel shade, and when paired with the Aztec print screams summer. It could be dressed up with a sleeveless shirt and heels or worn more casual with a simple t-shirt. So versatile!
3. If you're a bit scared of yellow, the easiest way to wear it is with accessories. A neon yellow statement necklace gives an outfit instant edge, but I really like yellow shoes. These loafers would look good with both dresses and trousers, and look really comfy too!
4. I once saw a random girl in the street wearing a pair of mustard yellow peg-leg trousers with a grey marl t-shirt and bright red lipstick. She just looked ridiculously cool, and although I doubt I could ever look that hip I have been searching for a perfect pair of yellow trousers since. This H&M pair would do lovely, thanks.
The one thing with yellow is, there are a few rules you have to stick to to make it work. These are just a few I follow when wearing yellow:
  • Unless you are just wearing yellow accessories, just wear one yellow piece per outfit. One yellow piece makes enough of a statement.
  • Yellow looks good with either navy or grey. I tend not to wear yellow with black, for fear that I might look a little like a bumble-bee.
  • If you have blonde hair or pale skin, don't wear yellow directly next to your face - it can wash you out. Break a top up with a collar or a statement necklace or wear yellow on your bottom half instead.
  • Follow your instincts! If you see something yellow you just instinctively like just go for it and give it a try. You haven't got anything to lose.
 
What do you think about wearing yellow? Is there another colour you'd like to see getting a bit more attention? 


Sunday 25 August 2013

Recipe: Cheese Biscuits

 
 This is a recipe my lovely mum came up with a few years ago. It's perhaps the simplest recipe I've ever made - it only has three ingredients!


I call these 'cheese biscuits' because the texture is a little hard to describe - they lack the CRUNCH that most crackers have, and are instead soft and quite crumbly. You could experiment with the type of cheese used - I've used mature cheddar, but you could use most types of cheese.
Ingredients:
  • 100g plain flour
  • 100g butter
  • 100g grated cheese

 
I'm using ready-grated cheese, just to make things even easier. This recipe makes about 20 standard sized biscuits, but if you want to make more (or less) you just need to remember that you need equal quantities of plain flour, butter and cheese.

1. Preheat your oven to 170 degrees Celsius
2. Mix your butter and flour together
3. Add the grated cheese, and mix to form a dough. If your dough is too sticky, add more flour, and if too dry add a little milk.


4. Place your dough on a worktop which has been dusted with flour, to prevent sticking.
5. Roll out the dough to a thickness of about 1cm.


6. Cut out your biscuits and place on a tray.


Leave a gap in between your biscuits, the cheese sometimes spills out while they are cooking.

7. Place in your pre-heated oven for fifteen minutes, or until golden brown.
 

You can serve them as they are, or wait for them to cool - they taste great both ways. I also like to make tiny ones as an alternative to croutons in soup. Why not try adding herbs to the recipe to make them a little more haute-cuisine?

Let me know if you try this!

Saturday 24 August 2013

Irony - The New Black?

Something strange has happened in fashion-land lately. It seems that wherever I look, I'm being bombarded with t-shirts and sweaters with ironic slogans plastered on the front. At first, I thought it was a fad that would pass, but it seems that the trend is continuing into A/W. Well, if you can't beat them join them, so here's my round up of fashion irony.


Source

It all started with the Ashish S/S 2013 show, which was scattered with number print blouses, sequined hair scrunchies and (of course) the ironic print sweatshirts. Funnily enough, I don't think the sequined hair scrunchies took off in the same way as the sweatshirts did. The whole show had a sports-luxe theme, so a t-shirt with "Very Tired" written on it in French (the language of fashion) fitted the irony bill to a t (pun not intended, lol).


Source

 The "GEEK" t-shirts were everywhere this summer, although "DORK" and "NERD" were both perfectly acceptable too. The secret to wearing these are that you have to be insanely cool. Seriously, you have to be the kind of person that the word 'geek' would never apply to, like ever. You cannot be the kind of person who knows most of the words to their favourite episode of Doctor Who (ah, but that weeping angel episode was so good, right?).

Source


When festival season hit it's peak, band t-shirts were available pretty much anywhere, but Guns N Roses seemed to be the choice du jour. Rather than seeing these worn with skinny jeans and biker boots, I saw a lot of young girls wearing them with denim cut-offs. I am a bit of a music snob, and have to admit that I'd never wear a t-shirt of a band I didn't listen to, but I guess with fashion irony, pretty much anything goes.


Source


When buying a knock-off designer t-shirt, it used to be the case that it was supposed to look exactly like the real deal. But recently, a crop of t-shirts have been made with humorous differences to the original designer logos. I actually really like these, and I think it's probably fairer on the original designers too, as these are obviously fake. Being a cat-lady in the making, I particularly like the Celine knock-off above.


For Autumn/Winter, I think the slogans are going to move across onto jumpers and sweatshirts. This would be so easy to DIY though. Choose an ironic slogan that applies to you - maybe "ZZZ" if you're an energetic, sporty person, or "Hard As Nails" if you're a girly girl. then make a stencil (you can buy alphabet stencils cheaply from stationary shops), paint your slogan onto a t-shirt or sweatshirt. Acrylic paint works just as well as fabric paint, trust me. You could even try embroidery onto a t-shirt or jumper. I think chain stitch would look the best for this.

I'm going to rewear my "Rock and Roll" jumper dress in a new light - with a preppy shirt collar underneath and chunky brogues on my feet.

Who knew fashion had a sense of humour, huh? Are you liking fashion's new funny trend?

Friday 23 August 2013

How to: Make an iPod Notebook

Making notebooks is something I've only recently got into, and I can't believe I haven't tried it before. Once you know how, it's surprisingly easy and cheap to do. For someone with a slight obsession with notebooks, it's the ideal way to get unique, fun and personalised notebooks that would otherwise cost you a small fortune. Today, I'm going to show you a super simple way to make a small notebook that won't take longer than 30 minutes, promise.


I'm making a notebook out of this cardboard iPod touch, which came with an iPod cover I bought last week. It just seemed too good to throw away. You could use anything you like, provided it's folded in half like a card. To make one like this you could print out a picture of an iPod touch on some card, with the front on the right hand side, and the back on the left hand side.

You will need:

You can choose any type of paper you like, provided you can fold it. I'm using white for simplicity, but you can have some fun with patterned paper if you like.

Step 1:


Fold your paper in half. To get a nice, sharp fold, run a flat object (try a pencil or comb) along the fold.

Step 2:


 Place your the cover of your notepad onto the paper, so that the folds match up, and draw around your cover with a pencil.


Step 3:


Using scissors, cut out your pages following the pencil line. Repeat this for as many pages as you want. I made four of these - you could make a couple more but just make sure that when they are all placed inside each other, they lie flat when folded.


Step 4:


Place your pages inside each other, forming a signature. At this stage you might see that some of your pages don't match up size wise, but no probs! Just trim with scissors where needed.


Step 5:

 
Mark a dot on the inside of your signature 2cm away from the top edge. Repeat for the bottom edge.

 
Place your signature inside the notebook cover and pierce through the dots using a needle. If you've used thick paper or more pages, you might need to use something larger like an awl to do this.


Step 6:

OK, now you're ready to sew!


Tie a knot at the end of your cotton and thread through the needle. Starting with the top hole in the inside of your signature, push your needle through to the outside of the notebook. The knot should be on the inside of your notebook (shown below).


 Now push the needle though the other hole, from the outside of the notebook through to the inside. Pull this nice and tight - it's going to be holding your notebook together.


Now all you have to do is a tie a knot at the end of your thread, as close to the notebook as you can actually get. Then cut off the remainder of the thread.


And you're finished! Phew!


Enjoy using your new notebook. If you've enjoyed making this notebook there are plenty of types of binding you can look into - there are some particularly good tutorials on YouTube. Try looking up coptic stitch - this looks great on books with more pages.
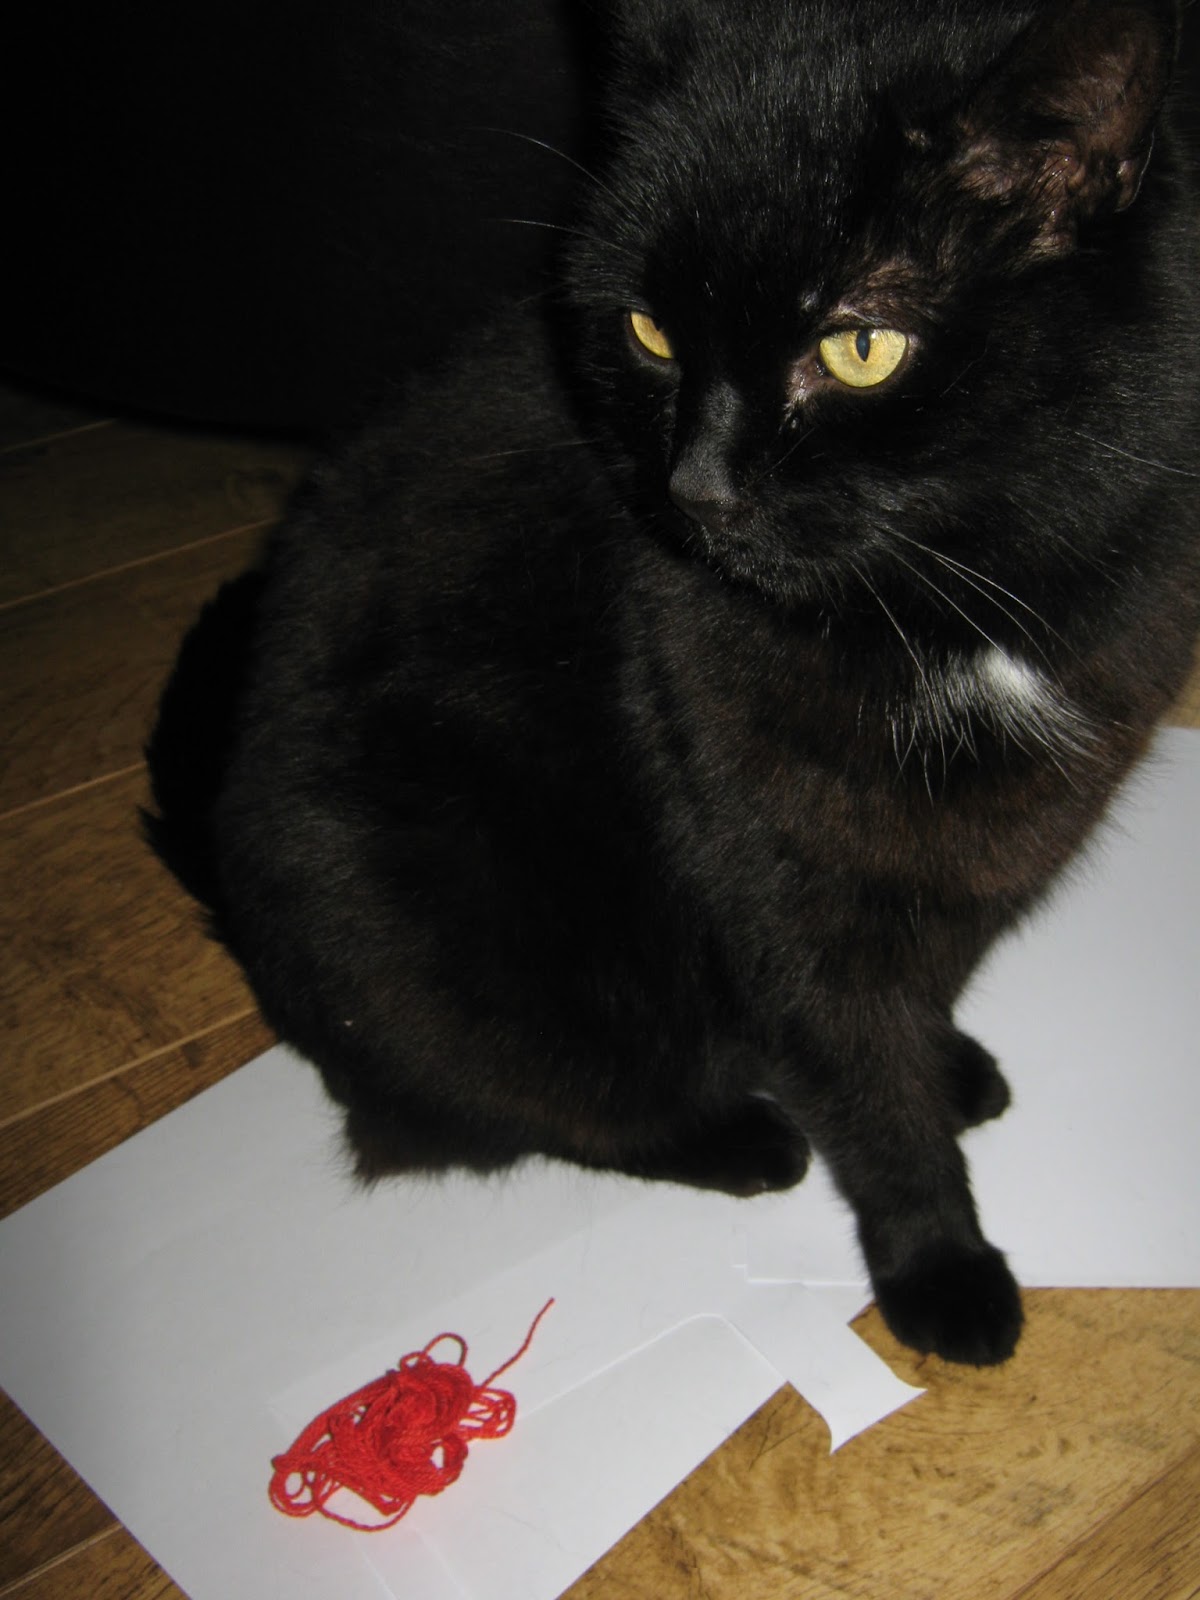
 
 
A little someone interrupted helped me with this project
 
Let me know if you try this - I'd love to see any variations on this that anybody comes up with.

Thursday 22 August 2013

Vintage Birthday Cards

On my adventures today, I stumbled upon a box filled with vintage birthday cards. I could have bought several of them, but I have to admit - I would have absolutely no idea what to do with them. So I managed to walk away with just one (it was hard to resist the temptation to buy the lot). It has to be in contention for the most useless thing I've bought, along with 'fur effect' nail varnish (as strange as it sounds, trust me). But I couldn't leave this one there - it's such a beauty.

I'm not quite sure exactly how old this card is, but it seems to be in pretty good condition. It has two wheels you can turn, to mix and match the animal on the front of the card.


Being very immature, it pleases me a lot, although I am absolutely stumped on what to use it for. A fancy bookmark? Notebook cover? Postcard? At the moment, it is sitting on my bedside table, like I am pretending it is my birthday (it does look like I am a friendless hermit though!).

A nifty gif showing some of the animals I made


Any ideas on what I could use this vintage birthday card for? What is the most pointless thing you have ever bought?