

I prefer the ear cuffs which are simpler rather than the more fancy, jewel encrusted ones (have no idea when I'd wear something so blingy). I decided to set about making one, as I was ensure exactly how often I would wear one and wanted to avoid paying a fortune.
You Will Need:

- Pliers
- Craft Wire (I used fuse wire because I couldn't find any craft wire!)
- Earring Post
- Embellishments and broken jewellery
- Glue
This is a perfect project for using up bits of broken jewellery that are too small or broken to do much else with. The best thing to do is just keep an open mind and lay out different compositions before committing to your design.
1. Cut a length of wire which is double the length of your ear, and using the pliers, roll the end into an coil. This will be where the earring post will be glued later.

2. Curve the wire upwards from this point, following the curve of your ear. Once you are happy with the length and shape of the wire, bend the remaining wire into a short curve, perpendicular to the rest of the wire. Repeat this curve back and forth to make the cuff that will sit at the top of your ear. Cut off any remaining wire.
 |
| Wrap your wire back and forth... |
 |
| This forms the main cuff for your ear! |
3. Now that you have made the main base for your ear cuff, you can start to think about how to jazz it up a little. I just laid out my various pieces of jewellery until I had a design I was happy with.
 |
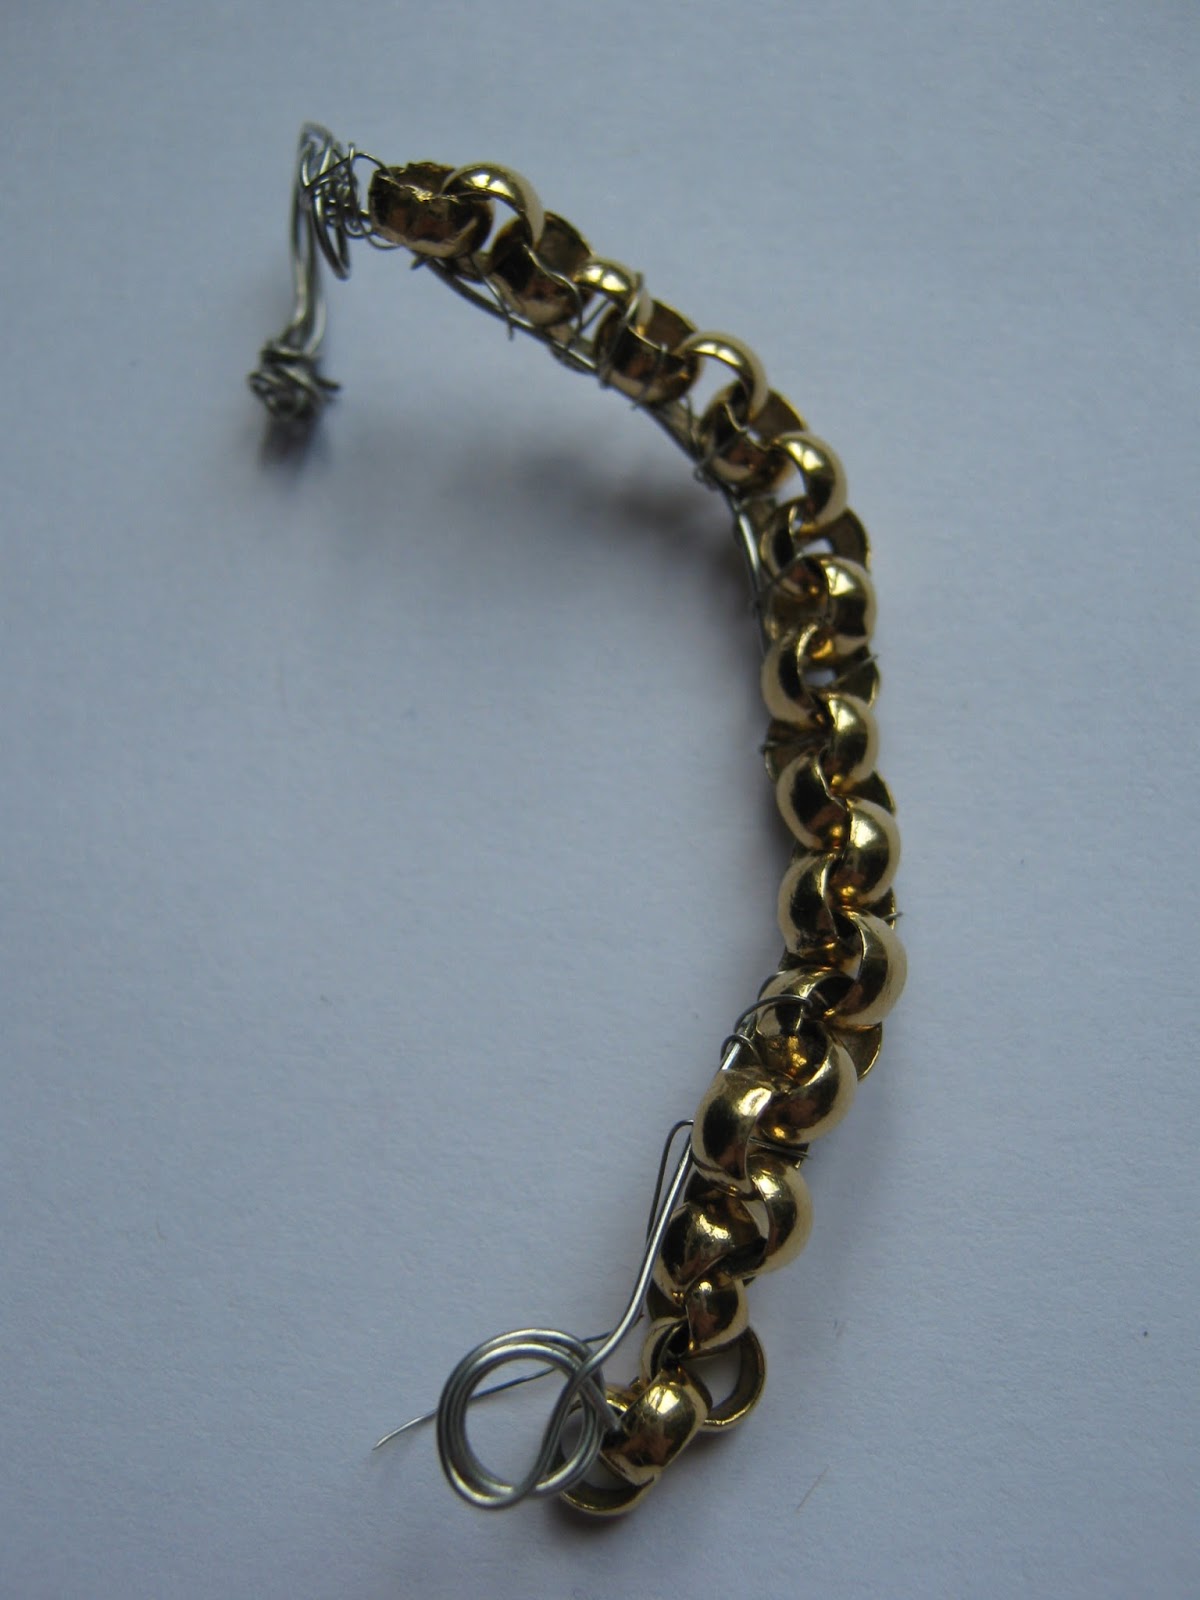
| This one is made from a broken chain and a broken earring |
 |
| This design is made from fake jewels |
4. Using a thinner wire, or even a needle and thread, start to loop around the cuff part of your base, and use this to attach your embellishments. I looped through the chain, and wrapped back around the base, and continued this through each link in the chain.

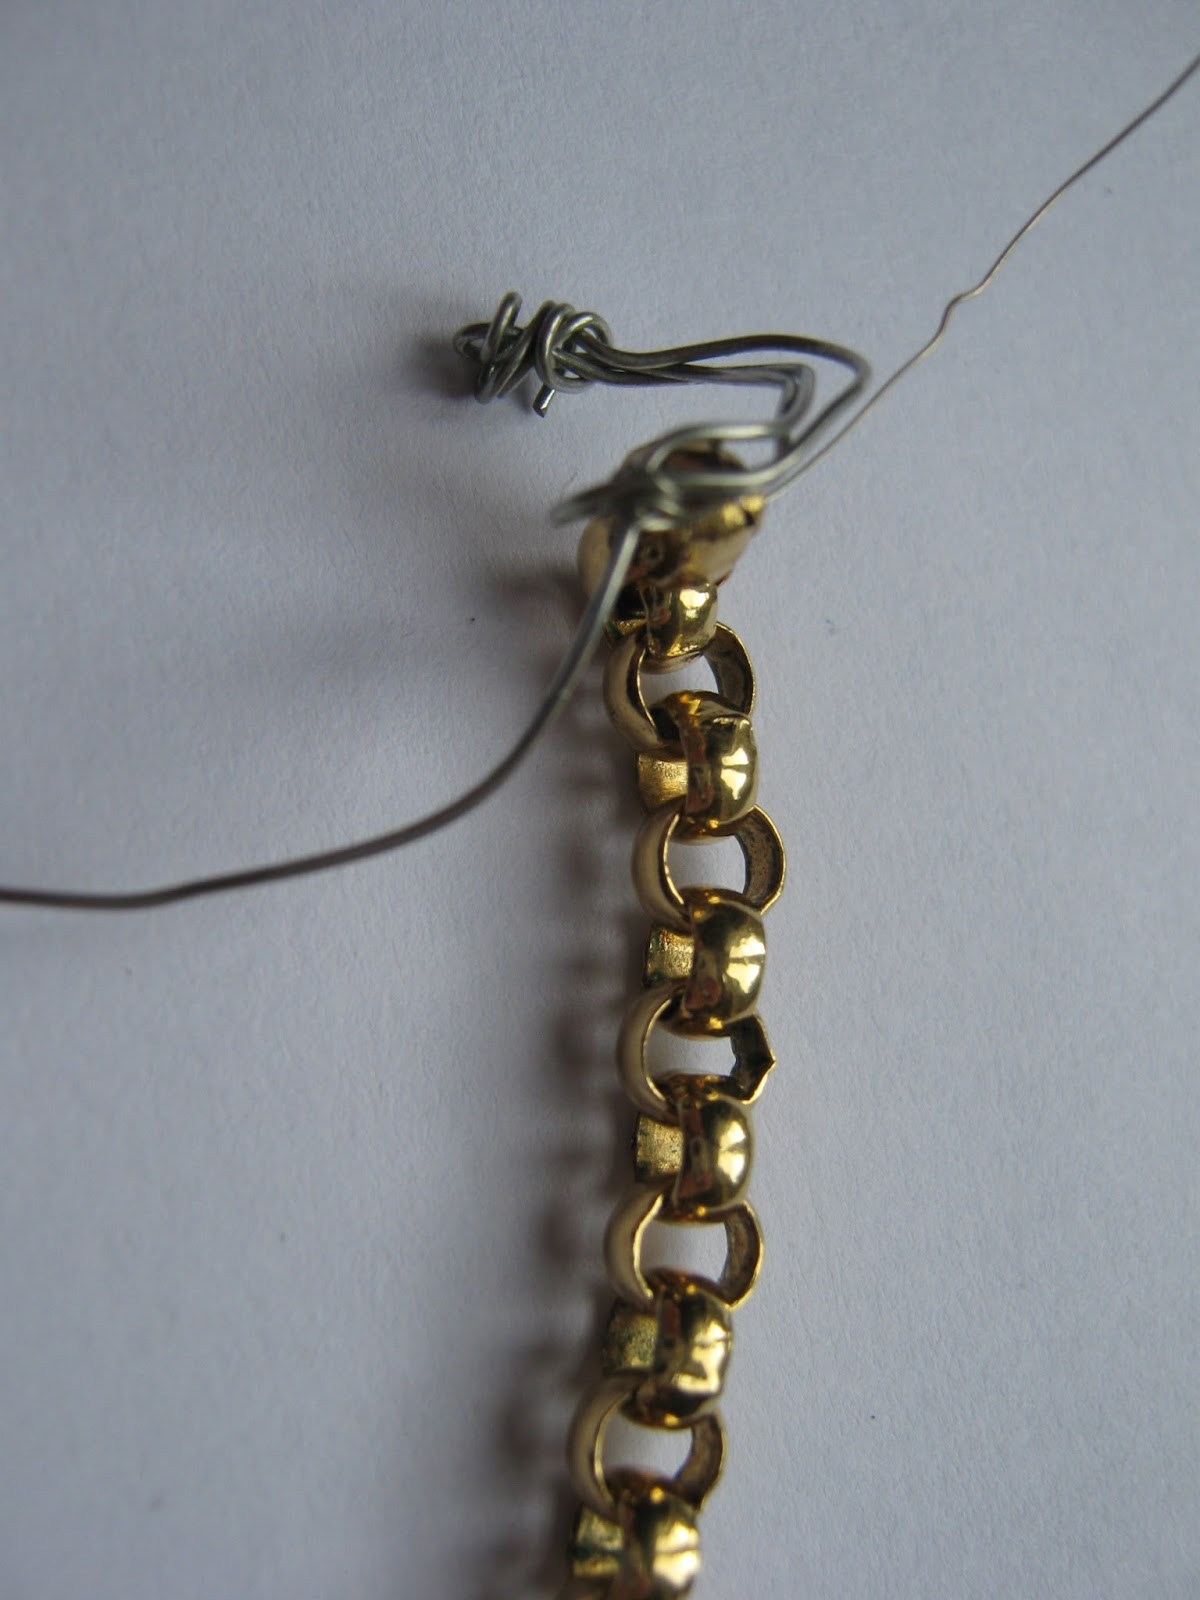

Continue this until you reach the bottom of your ear cuff.
You could use the same technique for attaching other embellishments, I also experimented with looping the wire through the holes in the jewels and back around the base.
5. Glue on any additional features that cannot be wrapped or sewn on. I did this with my broken earring.


I also glued my earring post on at the same time, to the reverse of the ear cuff.
When the glue has dried - you're done! I'm looking forward to wearing this when the weather goes cooler - I always tend to pile on the jewellery in the Autumn. It would of course, still look great for the last of these summer days.
Have any of you invested in an ear cuff yet? How would you wear one? Let me know if you try this!
No comments:
Post a Comment